 Best Price Guarantee
The Goalrilla installation always seems more daunting than it really is. The hardest part is digging the hole. The hole will be 4’ deep and about 18” around. There is no need for an auger, it can be dug by hand with a pair of post hole diggers. It is important that your anchor is installed correctly and at the proper depth to ensure that you are below the frost line and there is enough concrete weight to offset the weight of the goal. If you can dig the hole correctly, your work should be downhill from there.
Be sure to consult your installation instructions that come with your goal or you can download them on-line and see an installation video.
The installation of your Goalrilla Basketball System will take place over two days, approximately five days apart. The first day you can go it alone, but when it comes time to stand up your Goalrilla Basketball System on Day 5, you will want to recruit the help of a couple friends or neighbors.
Day 1 (One Person)
Digging the Hole and Installing the Anchor System
Estimated Time: 1-2 hours
Tools Required:
11 – 80 lb. bags of concrete
1 – post hole digger
1 – 15/16” open end wrench
1 – 15/16” socket and ratchet
1 – wheel barrow
1 – garden hose
1 – level
1 – tape measure
1 – concrete form
Steps:
- Determine anchor location and dig the hole
- Assemble anchor system
- Mix concrete and pour into hole
- Add reinforcement bars
- Place form in desired location (optional)
- Push anchor into concrete, level and square
IMPORTANT: Always call for the location of underground utilities before digging.
Day 5 (Three People)
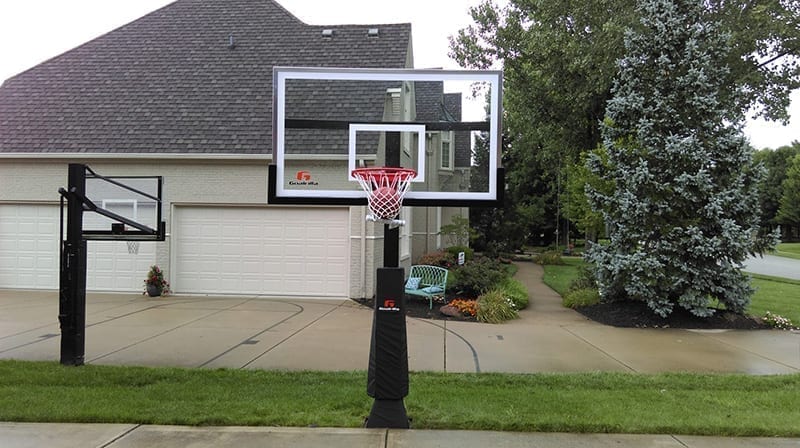
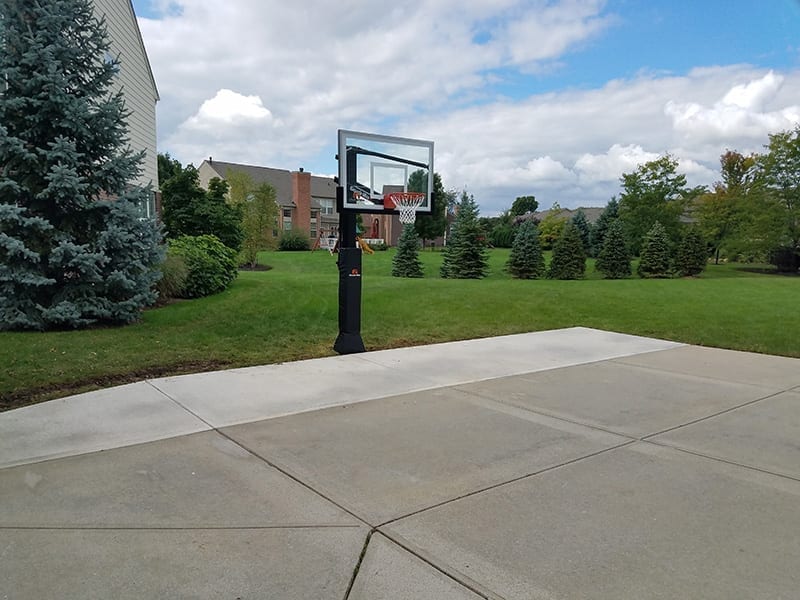
Standing Up Your Goalrilla Basketball Goal
Estimated Time: 1-2 hours
Tools Required:
1 – 15/16″ open end wrench
1 – 15/16” socket and ratchet (optional)
1 – Level
1 – Tape Measure
1 – Rubber Mallet
1 – Set of Padded Saw Horses
1 – 9/16” Deep Well Socket & Ratchet
1 – 3/4” Socket & Ratchet
1 – 3/4” Open end Wrench
1 – 5-16” Socket Driver 1 – Pair of Safety Glasses
1 – Ladder
2 – Friends
Steps:
- Attach lower arms, upper arms and actuator to post.
- Stand up post onto anchor system.
- Attach backboard.
- Attach rim and net.
- Add any accessories (padding, lighting, netting)
- GET OUT THE BASKETBALL!
Once again, you will want to consult the installation manual that comes with your Goalrilla Basketball Goal, but this will give you an idea of just how easy installation can be. At the end of the day, the money you save by installing your goal yourself may be that extra few hundred dollars you needed to put towards a better goal. Need help with installation? Give us a call at 1 (800) 689-0281.


I have a Goalrilla CS72c on order but will not arrive for 14 days and need technical information. I will be pouring a cement court in 4 days. What distance do i have to have from the front anchor bolts to the edge of the court? I need the overhang measurement of the backstop.
Thanks
Hi there Ron,
Thanks for leaving your comment. Goalrilla’s manual for the GS72c has this technical information on page 5. Here is a link to that manual on Goalrilla’s website.
http://www.goalrilla.com/manual/current/B5000W_2L758001.pdf
On that page you’ll find the overhang measurements as well as the location of the anchor system. As always, if you have any other questions or want to verify this information with one of our specialists, feel free to give us a call at 1-800-689-0281.